
 Photo Manipulate a Surreal Sky Station Scene
 Creating the Terrifying Photo-Manipulation ‘Wrath’
 Create a Fantasy Floating Green Planet Scene in Photoshop
Have every post delivered to your inbox and get access to hundreds of useful design freebies.
Today’s advanced tutorial will show you how to photo manipulate a beautiful ancient princess scene. In this tutorial we will be covering key topics including:
As always, this is the final image that we’ll be creating:

Create a new canvas in Photoshop with the dimensions Width=2253px and Height=3918px.

In this step we are going to import the model and use Refine Edge to cut the model with fine details from its BG.
1) Now import the image of the model on to the canvas and place it as shown.

2) Cut the model from its BG using the Pen Tool (P) and leave the hair area as rough as possible. Then again select a mask around the model and this time select the mask just about the edges of the hair as shown.

3) Open the Refine Edge option and the Radius=0.3px, Smooth=2, Contrast=7%, and set the Output to New Layer. Then by using the Refine Radius Tool paint the edges of the hair to get the fine cut of the hair with every fine detail still intact.

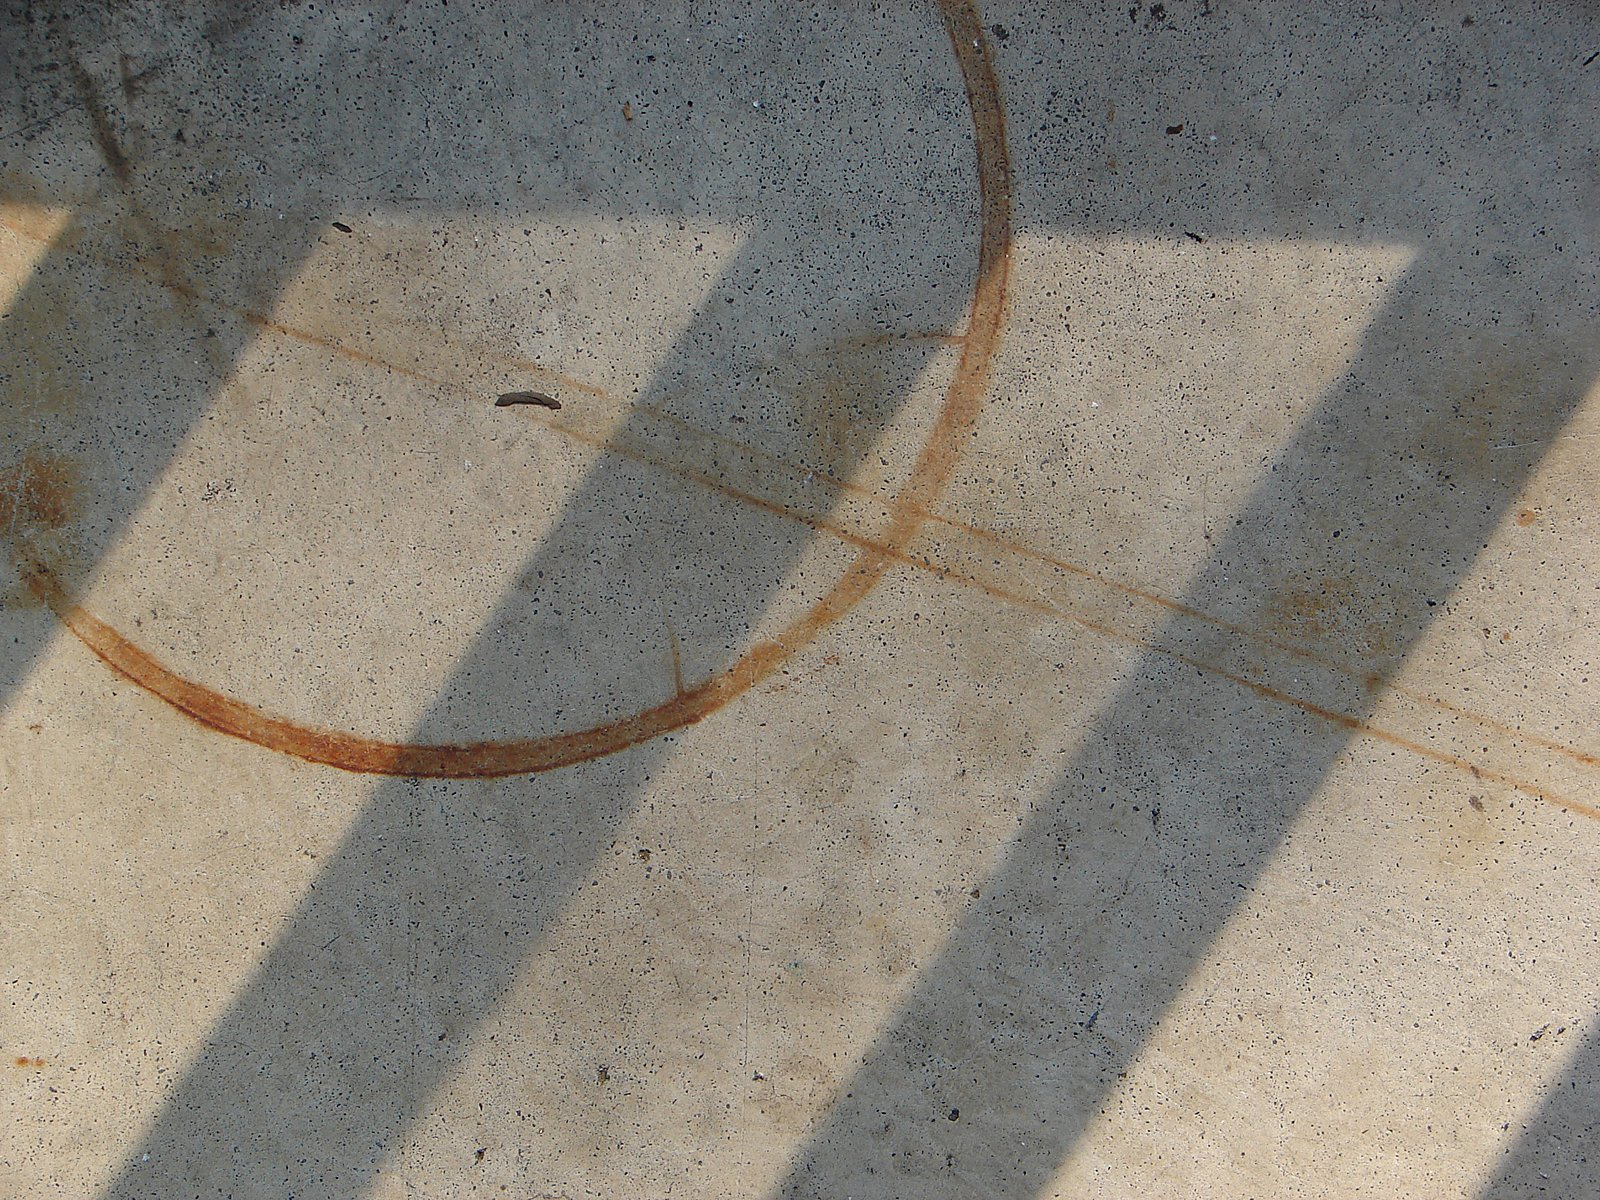
In this step we are going to place a texture BG to the scene.
1) Import the image of the texture on to the canvas and place the layer under the model layer.

2) Now add a black vignette effect by the edges of the scene in a new layer placed on the top of the layers pallete.

In this step we are going to color correct the model.
1) Create an Exposure Adjustment layer to the Model layer and set the Gamma Correction to 0.74.

2) Now by using the Hue/Saturation adjustment layer set the Saturation level to -50.

3) Create a new layer and paint the shadows of the model and the on the wall as shown on left, using the Soft Round Brush.

In this step we are going to create an arch of swords behind the model.
1) Import the image of the Sword on to the canvas and place it behind the model as shown.

2) Similarly place another sword adjacent to the previous sword bent by some angle.

3) Follow the previous steps and complete the Right side of the swords arch as shown.

4) Now merge all the sword layers into a single layer. Then duplicate the layer and place it on the opposite side by flipping it horizontally.

5) Create a new layer above the arch layer and paint dark shadow covering the junction of the swords as shown.

In this step we are going to create another arch using a different sword.
1) Cut the image of the sword from the stock image and place it in-between the gaps of the swords arch we previously created.

2) Duplicate the sword layer multiple times to complete right side of the arch as shown.

3) Now duplicate the right arch layer and place it on the left side as shown.


I'm a freelance graphics designer and the Founder of Zillionarts and ZillionArts Workshop. Here we ought to provide the best training on Digital Painting and Visual Effects host by the experienced pros from the Hollywood and Gaming Industry. I work constantly to explore more possibilities and techniques to bring my imaginary worlds to live. You can follow me on Deviantart.


Do you know the basic tools in Photoshop but feel that your work is still looking average? Join our creative community at FanExtra and get the direction you need to take your work to the next level.


This is an extremely beautiful tutorial. Thanks a lot for sharing!
Thank you Sonny! I really like this outcome too.
It’s beautiful, thank you very much!
My result:
http://www.chez-mireilled.com/article-belle-princesse-antique-avec-photoshop-117064417.html
Fantastic version Mireille. Thanks for sharing, you did a great job!